Thursday, May 27, 2010

Water pump

I still had water in the oil so it was not backing up. Turned out to be the water pump. There are a couple of seals on the shaft that drives it that were letting water into the crankcase. I got a new water pump along with a VERY long list of other seals, gaskets and screws. The cover that the pump was on was very corroded from the saltwater leaking on it. The lower bolt was pretty much dust.

This is the lower bolt of the pump. The X is actually the hex nuts head. The survey said it had a higher than normal level of salt in the oil. So this had probably been leaking for quite a number of years.
One thing I did learn is that the lines going into the pump just pull out. There is a rubber seal there but it does not have a thread or anything to release it. It just pops out or in. Which is tricky since there are one on each side of the pump.


Gary Woods marine of Stuart was quite helpful in finding all the parts I would need and offering a few other good suggestions about how to do it. It was not too hard of a job and it seemed to have fixed the problem. We have run the motor from Stuart to Marathon and only sailed a few of those days and no sign of water in the oil.

Saturday, March 13, 2010

Engine troubles

At the end of January we were planning on taking a trip down the coast. The boat was loaded up and ready to go but when I checked the oil in the engine it was milky looking. Water had gotten in there from somewhere. I changed the oil but the engine would not fire up. Had several people look at it but no one had any ideas nor did anyone have a compression gauge.

I finally bought a compression gauge and tested it. It was on the low end of what it should be but for a 25 year old engine that is not so bad. It should have been 284-355 with the starter but one cylinder was 280ish and the other 290.

Finally we got a nice day and I put a space heater in the engine compartment for about 3 hours. It surprised me by firing up almost immediately! I let it run for a few seconds and then stopped it as I had closed off the raw water intake. I opened that up and started it again let it run for about 20 minutes stopped it and checked the oil. It still looked new! I ran it a couple more times over the next few days and still no water in the oil.

I put some marvel mystery oil in the crankcase and put it in gear so the engine could get up to temp under load. Once I realized the thermostat was disconnected and fixed that the gauge went to where it should be. :)

So far the water problem looks like water backed up in the exhaust elbow from cranking it too much. I will change the oil again after I get the injectors cleaned and tuned. Right now it looks like the engine is working but hard to start in cold weather.

Things I have learned:
The specs say the Volvo Penta MD7B is 17 hp not 13 like the md7a. I don't know what else changed but all the manuals I found mostly referenced the md7a. Even the manual that came with the boat was for the md7a.

Even though I am in Florida a bit of extra heat on a diesel engine really helps a lot getting it started.

Getting a mechanic to look at a sailboat engine is hard. I only found one that would call me back and they wanted over $200 to compression test the engine. I bought a compression gauge for around $150 that I will likely never need again.

Sunday, August 2, 2009

Grab rails

The grab rails that came with the boat were pretty much a lost cause. They were worn through in a couple of places around the bolts and were in generally bad shape. My original thinking was to have starboard replacements made but the cost of doing that was a bit much. Someone suggested steel and the price for those was about the same. Luckily I found some at the consignment shop for $25 each! So we pulled the old rails off and filled in the holes with epoxy. We drilled new holes larger than they needed to be and filled those in with epoxy and drilled the proper sized hole in the epoxy. If water gets in there then it won't get into the wood core. For some more info and cutaway pictures see here. Lots of other good information on this site as well.

The final result does not look as good as the teak grab rails but they will require less maintenance and took fewer holes into the deck. So I am going to learn to live with it. Also it will be less likely that I bash my toe on these. :)

Thursday, July 30, 2009

Port windows

Got the port side windows replaced. Pretty much the same story as far as rotten wood underneath except there was more of it. Also looks like the jib traveler needs to be rebedded as that looks like it may be leaking too. The details are
pretty much the same so I will just post before and after pics of the exterior.

Before After


In the after picture the grab rail is also removed. I got some new steel ones from the consignment shop. They would not have been my first choice but the price was right so I went that way. They will also require fewer holes to put in so that is a good thing.

Thursday, July 16, 2009

This is something I forgot about. I replaced the Signet knotmeters paddlewheel and videoed the water rushing into the boat when the plug was removed. Quite a lot comes in so be quick!

Thursday, July 9, 2009

Windows etc.

Been quite awhile since I have posted anything here. Not that I have not been doing things but I have not managed to finish anything. :) Story of my life I guess. But here is a summary of what has been done so far.

I got a new radio. An Icom m422. Linda took the Coast guard ABS class and decided she liked the idea of have a DSC distress button. She got a %100 on the test btw and I am still hearing about that. The radio we had was just a basic radio and would not even scan through channels. I still have to get the gps hooked up to it so the distress button sends out location information.


Got a motor for the dinghy. A Yamaha 2.5 horse. The Dinghy is rated for up to 5 horse but weight was a big factor and the 2.5 is light enough to lift up onto the back of the boat. Its a bit of a trick in steady water I am sure it will be quite a feat to do it in waves of any size.


We got some vinyl lettering to name the dinghy as well. I am sure the humor is somewhat diminished by not being able to see both boats together. The dinghy still has a leak in it someplace. My patch job apparently did not quite take but I guess having wet feet is all part of the charm.

I am still trying to find oarlocks for the dinghy too. So if anyone knows anything about BoatUS branded dinghys imported by Severn let me know. I am just about to the point of rigging something up with zip ties because I can find almost no information about it.


The big and still not quite done project involved replacing the leaking windows on the starboard side. The original windows were set in a plastic frame that was glued to the side of the boat. I found quite a few people who were replacing their windows and using screws to hold the windows onto the fiberglass. This is the main story I followed on how to do windows this way. I could not find a place to get the neoprene used so I used butyl tape from RV Wholesalers. They don't sell the same stuff anymore but they sell something called Tacky tape that looks to be similar. It was a several week job to get the windows on mostly because of poor planning.

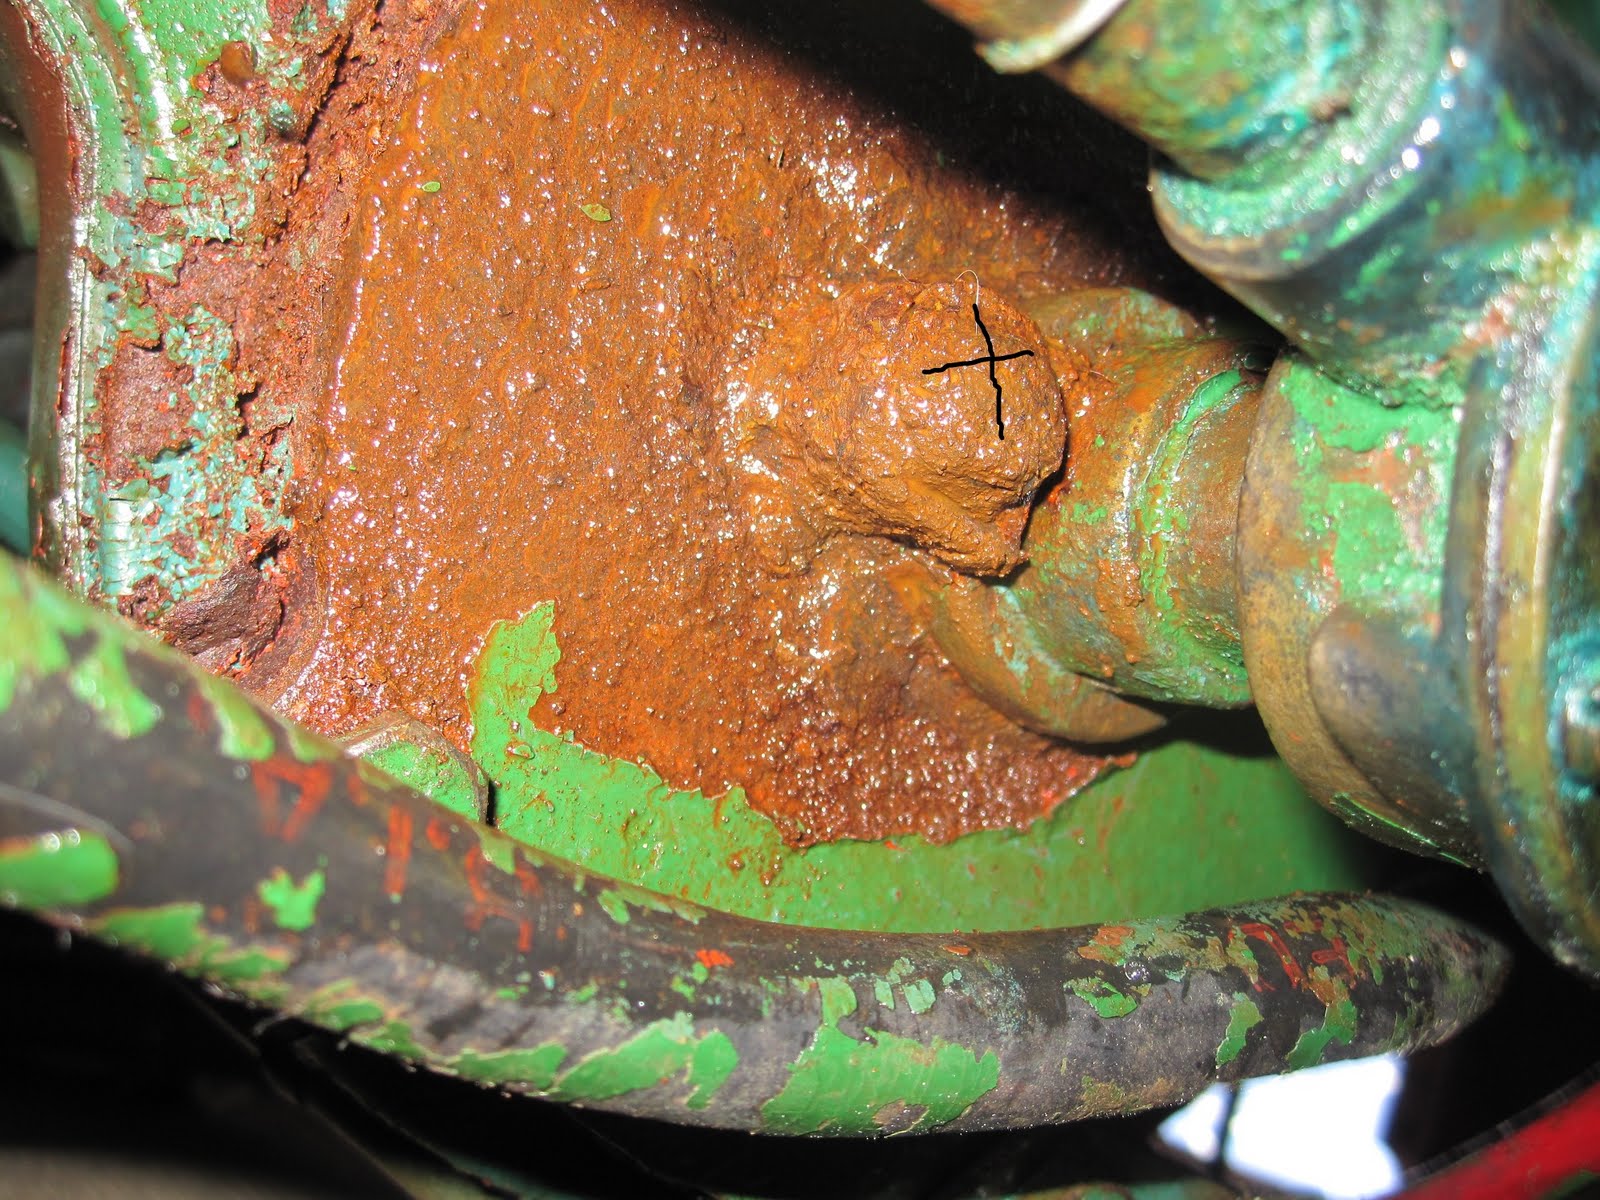
Once we took the vinyl off the wall to take here is what we found. Over the years water had pretty much rotted the wood to dust. The dark strip at the bottom was where a grab rail was attached. It was basicall a trimmed down 1x2 and it was basically like styrofoam. You could push a toothpick through it and not break the toothpick. We used a dremel and cut out the bad parts and scraped it to the fiberglass. Linda turned out to be quite good at getting rotten plywood off of fiberglass.


Here is a closeup of that wood along the bottom. I found someone on craigslist to cut a 1x2 down the funny angle you see. Above that you can see the good job Linda did of getting the rotten and some not quite so rotten plywood off.


The next part was filling in the spots we had cut out with some nice new plywood. I was looking for some marine plywood and could only find one place that sold it. They had the kind that is used for a finished surface. I planned to veneer it but I bought it anyway. When I do the next side I plan to get exterior grade plywood and put penetrating epoxy on it. I put west marine branded penetrating epoxy on all the plywood I put up anyway. I was kind of worried about it setting up properly but it hardened up just fine.

This is the end result. As you can see the plywood we got has a finished surface and looks pretty nice by itself. We used posterboard to make templates to guide us in cutting the pieces. For the window holes we made them a bit big and then trimmed them up. We attached the plywood with west systems Gflex epoxy.


We filled in the gaps with west systems epoxy and the 410 fairing filler. We sanded and tried to get the surface as smooth as possible. As it turns out the veneer is not too finicky about the surface. So next time we know not to put quite so much effort into it.


I used the same plywood and expoxied pieces along the bottom. The dowels and other wood are holding it up in the correct place while the expoxy sets up. We are working on getting another peice to put under thier to cover the wires and other bolts. It will be held up with barrel head screws so it looks good and you can still get in there if needed. Once that was in place we went on to putting up the veneer.


Not much to say about the veneer. We used posterboard and pieces of paper to make the template to cut the pieces. Stuck them up with contact cement. I used a utility knife to cut the windows out and trim up the bottom. I got the veneer from cabinetparts.com. The rest of the boat is a dark mahogany and I needed to make sure the boat did not end up too dark so I picked this light mahogany.


Once everything was trimmed up we could finally put in the new windows! That took pretty much a day because we found we had too few screws and then we needed some longer ones so Linda made several trips to west marine to get screws, bolts and different kinds of washers.
We are going to make a piece of trim to put around the window and cover the bolts as well as provide a place to attach curtains. The original plan was to have the trim made prior and attach the bolts with barrel head nuts so it looked good. However not having the trim and the fact that barrel head nuts are about $1.24 each and needing close to 90 of them dampened my enthusiasm for that route.


So this is the result as it is now. We put a piece of rope trim along the top to hold the headliner up and put the rail along the bottom. The curtains are held up with zip ties. I am finding quite a lot of uses for dowels and zip ties. When we do the other side we will get more trim and finish the piece that is missing.


Here is a picture from outside and how the new windows look. They look a lot better than the old windows in my opinion. Plus they are water tight so that is a big plus!


Some of the things I learned in this process:
Next time I would make the windows larger. I told the guy at the plastic place to cut the new windows a half inch bigger than the old edge of the framed window and put the screw holes a half an inch from the edge. That only gives half inch of plexi from the screws and I think more would be better. Also next time I will have him use 3/8ths plexi rather than 1/4. If I had extra money I would like to have another layer of plexi glued into the window hole for extra strength assuming it could be done without having bubbles in it.

Tuesday, March 3, 2009

Polishing brass

While I was waiting for Mack Sails to come out and replace my main halyard I polished the brass towel holders by the sink.

I polished a couple of the hoops and the whale in this picture. As you can see they were really cruddy. the one in the upper right was the worst one as it was right by the window and must have gotten quite a bit of salt water on it. Its quite a difference that a few hours of polishing makes. I still have the hoop for the worst one yet to go but I can probably get that one done tomorrow. After I was done concragulating myself I realized there are 2 more behind the door and one is by a window and pretty bad. I think I will get a drill attachment for those and the last ring.


I went to grab some lunch when Mack Sails showed up so they were already pulling the new halyard through when I got back. They replaced it with Techron 2 line. They said it would not stiffen up and get wider like the old one did.

Here is one of their people up on the mast checking the block and lubricating it.


This is the reason I called them to replace it. The only way you are going to get me up there is if there is a big suitcase full of money.

They did a good job and were very quick. I think it took longer to write up the invoice and pay it than they took to get the job done. They should look into fixing that. :)


Someone caught some fish and were cleaning them at the fish cleaning station. the pelicans were looking for a free meal. I took this picture because I thought they were kind of cool. I am sure in a short time I will feel like everyone else and hate them like people hate geese in Minneapolis.

The guy cleaning fish is right behind the pole.

The sailboat you can see in the back is the Heather Anne. It came into Mariner Cay today. Its flagged Canadian but I am sure they are nice people. :)